Volume Calibration Services

NIST Traceable
ISO/IEC 17025 Accredited
Our lab is accredited by the A2LA to ISO/IEC 17025-2017. Your ISO 9000 (series) or other quality program in most cases recognize this accreditation and can accept our calibrations without the burden of conducting site audits or quality surveys.
Calibration of volumetric glassware consists of the following services:
The instrument is inspected visually for defects in numbering, graduating, or any obvious physical defects.
The instrument is examined under a polariscope to be certain it is free from strains in the glass (usually from the manufacturing process), as severe strains may affect the integrity of the instrument in the long term.
In a pipette or other artifact with a precision bore, the bore will be examined under magnification for irregularity in shape or any other defect which would render the instrument unsuitable for certification.
If the instrument does not have a serial number, a ceramic decal serial number will be affixed.
The instrument is next carefully cleaned, using solvents or detergents as appropriate, and rinsed with alcohol, then with water, and finally with distilled water, and thoroughly dried by positive ventilation using filtered air.
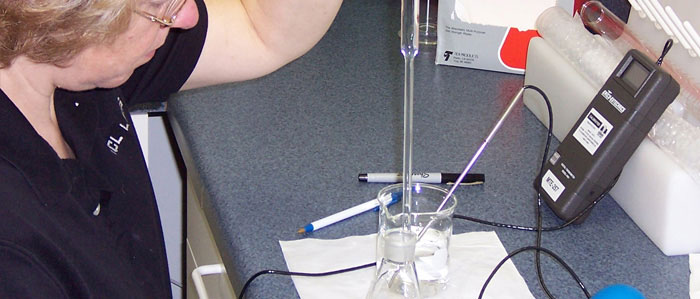
The instrument is then tested per ICL procedure 03, based on ASTM E-542, as appropriate for the volumes to be contained or delivered. Calibration is performed by hydrostatic weighing using distilled water, corrected for temperature, atmospheric pressure and air bouyancy. Readings at each test point (as appropriate) are resolved under magnification to one-tenth of the smallest scale division and are carefully noted.
A Report of Test (sometimes called a Certificate of Calibration) is prepared detailing all pertinant information concerning the test, the observed readings of the instrument, (with corresponding corrections), and all the required information to convey NIST traceability. (See photo at right, above) All certificates are laminated in heavy plastic for protection in the laboratory environment.
A durable calibration tag is affixed to the artifact indicating the date of most recent calibration and the next due date.
We will notify you when your instrument is due for recalibration. (One less thing for you to remember)
Many quality systems now require that volumetric glassware be calibrated or certified (the terms are often used interchangeably) where precise measurements are of critical importance. Accordingly, ICL maintains a modern, well equipped, ACCREDITED volumetric laboratory. Our calibration capabilities cover graduated volumetric glassware with capacities from 0.1 ml to 3,000 ml.
Recalibration form and address label to send in your instrument for calibration

